POS Return by Receipt · Odoo 19.0
Overview and setup
The Return by Receipt module lets a cashier process a return in seconds: scan the barcode on the receipt, and the sale opens on the till ready to be refunded. Every refunded line gets a reason from a list you maintain yourself, and you can stop a sale made by another seller from being refunded on this till.
Why the till needs it
Without the module, the cashier looks for the sale by hand: opens the order list, scrolls, types in the number. With a queue at the counter this is slow, and it is easy to pick the wrong receipt.
With the module, a return goes like this:
- the customer brings the receipt and the cashier scans its barcode — anywhere on the till, not only on the orders screen;
- the right sale opens with its lines, and the cashier picks what is coming back and how many;
- the till asks for a reason for each line;
- the refund is paid as usual.
Ordinary barcodes for products, customer cards or coupons work as before — the module does not intercept them.
Installation
- Download the module archive in your account, unpack it into addons, update the apps list and install «POS Return by Receipt».
- Open Point of Sale → Configuration → Settings and choose the till.
- Set the options below for each till separately.
Till settings
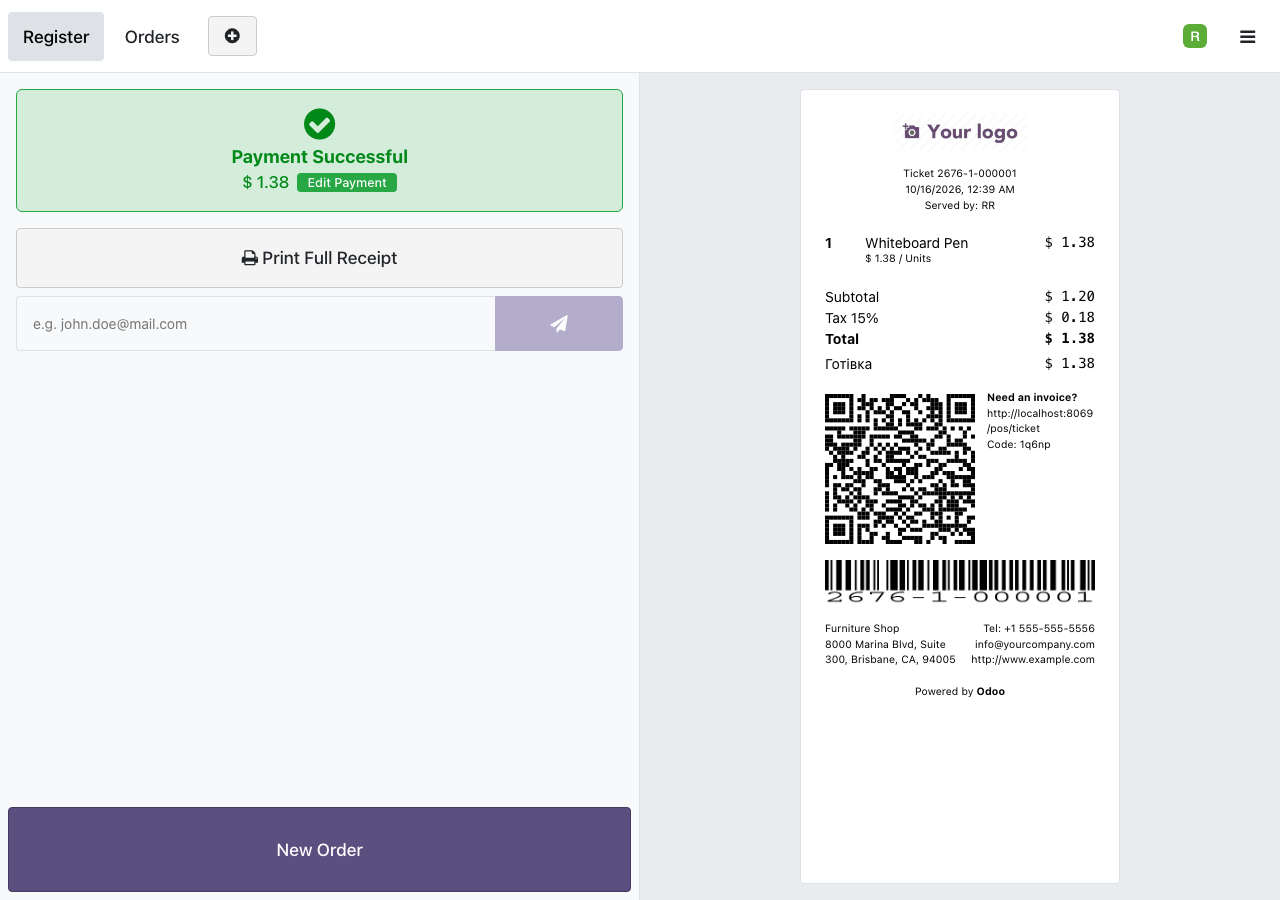
- “Order Barcode on Receipt” prints the order number as a barcode on the Odoo receipt. This is the barcode the cashier later scans for a return. Amounts, lines and other receipt data stay unchanged.
- “Require Return Reason” — every refunded line needs a reason. On by default.
- “Block Refunds of Another Seller” — a sale made by another seller cannot be refunded on this till. On by default, and can be switched off per till.
- Trusted tills — a standard Odoo setting. By scanning, a till opens its own receipts and those of its trusted tills, not just any receipt.
Return reasons
The list of reasons is under Point of Sale → Configuration → “Return Reasons”. The module comes with a few common ones, such as “Changed mind”, “Defective”, “Wrong item”, “Wrong size” and “Other”.
What you can do with the list:
- add new reasons, change their order and archive the ones you no longer need;
- translate the names — the cashier sees each reason in their own language;
- leave the company empty so the reason is offered in every company, or set a specific company;
- tick “Comment Required” where the cashier must explain in their own words — for example, for “Other”.
A reason already used in a refund cannot be deleted, only archived. This keeps the return history complete.
What a return looks like
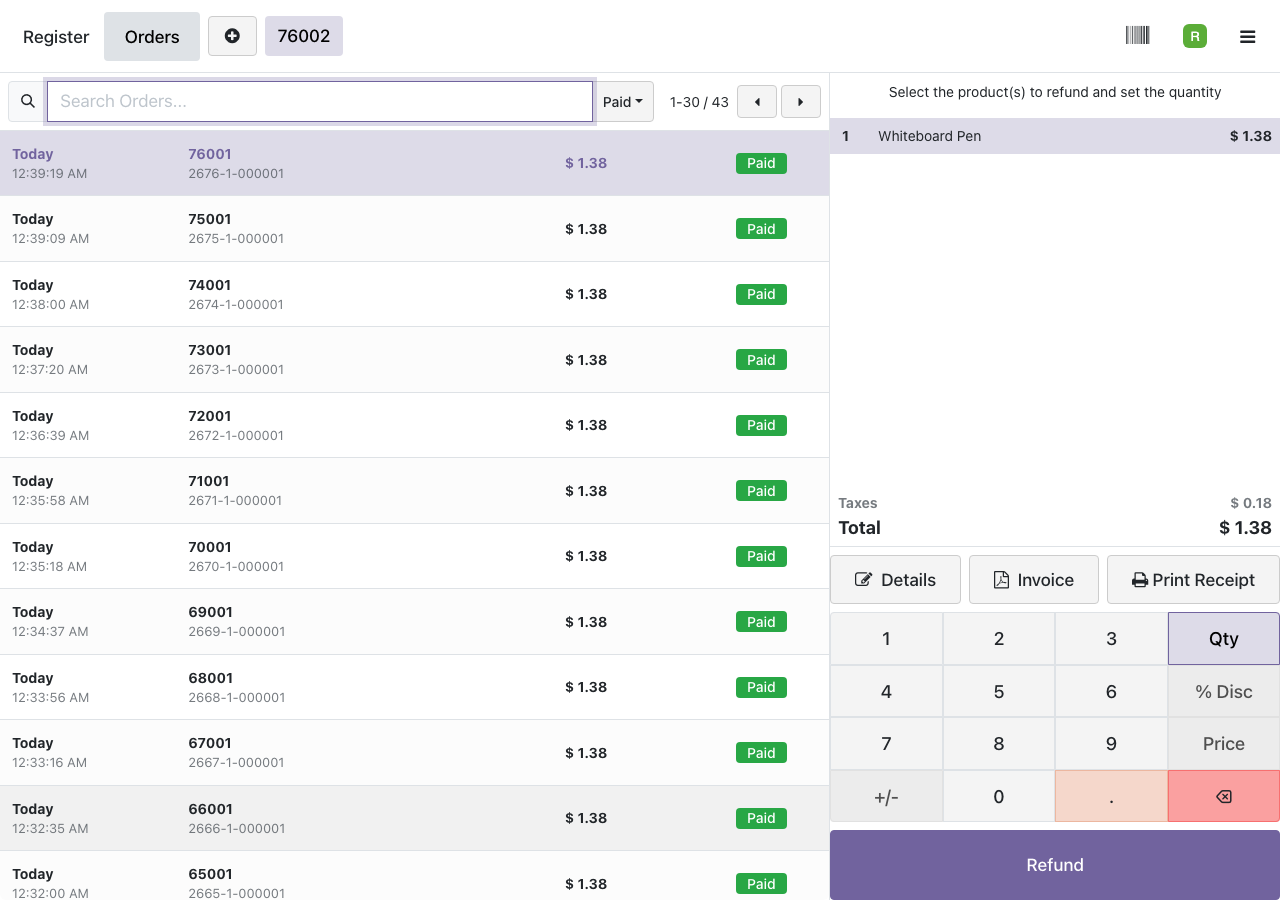
The cashier scans the barcode on the receipt, and the till opens the sale with its products. If there is no such receipt, the till says so; if the number matches several receipts, it lists them so the cashier can choose.
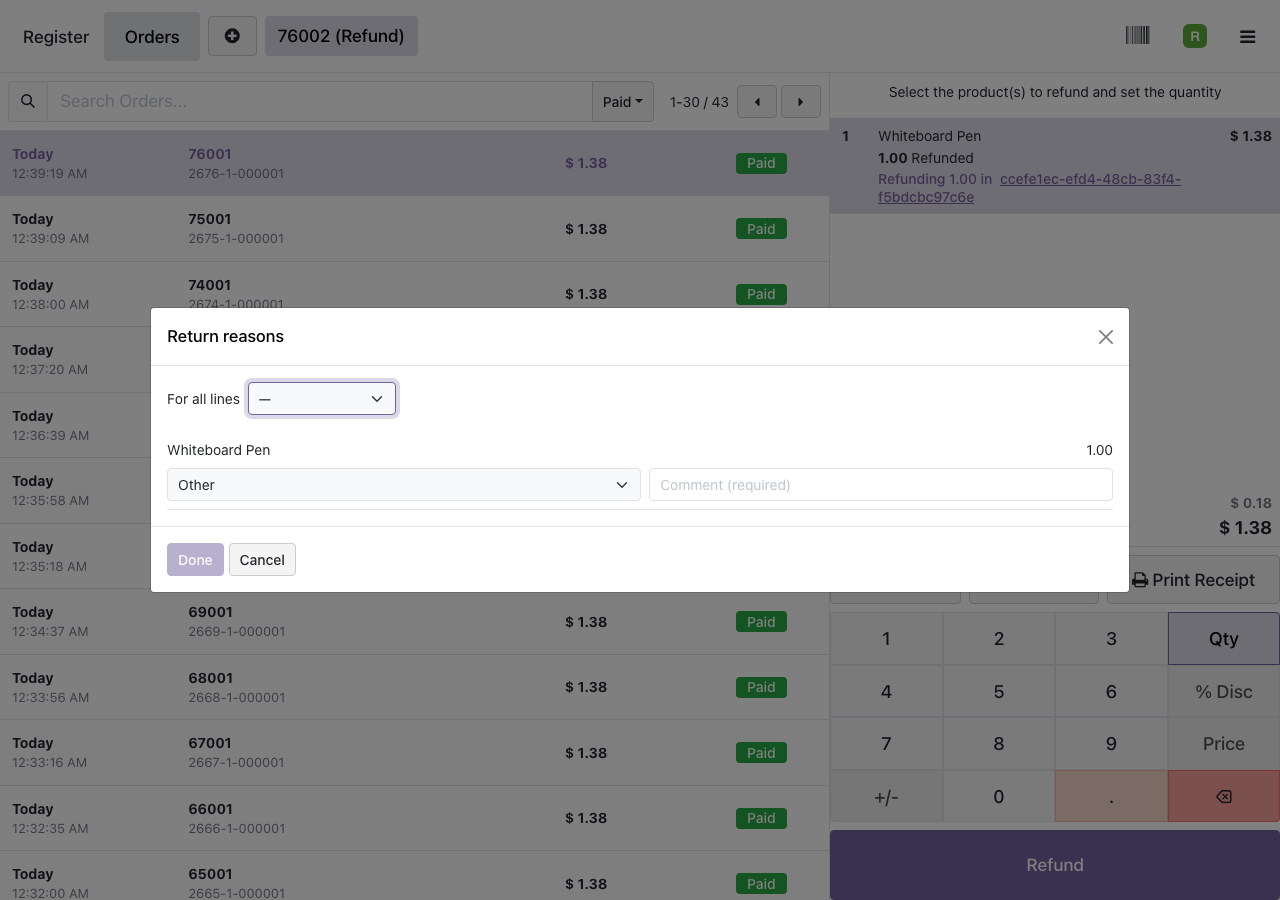
Before payment the “Return reasons” window appears. A reason is chosen for every line; the “For all lines” field fills every line with one reason at once. If a reason needs a comment, “Done” does not go through until one is entered.
The till also checks how much of this sale has already been refunded on all tills. So you cannot refund more than was sold, even if part of it was already returned at another till.